
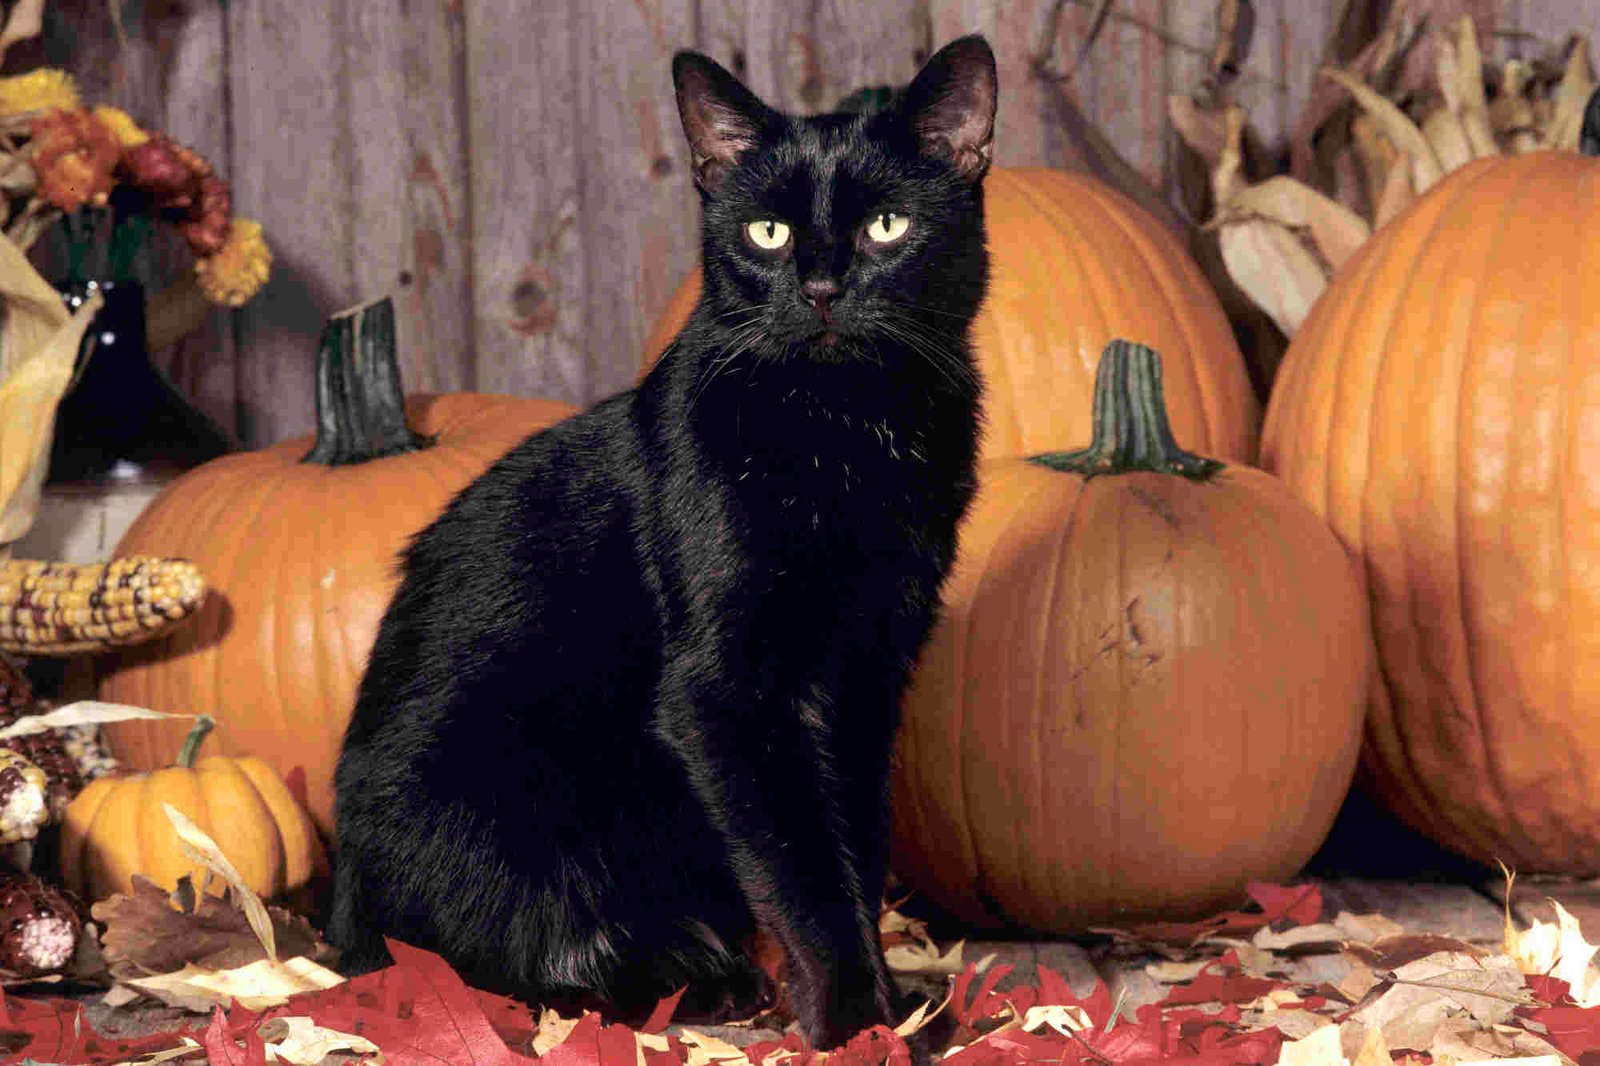
I run a small weekend art booth where I paint custom Halloween signs and quick portraits for families, and over the years, I have drawn more black cats than I can count. Some people want cute, some want creepy, and most don’t realize how much the pose and eyes matter. I learned the hard way after a few early sketches fell flat, looking like stiff silhouettes rather than something with personality. So this is how I actually draw a Halloween black cat when I want it to feel right.
Starting With Shape Instead of Details
I don’t begin with fur or whiskers. I start with three loose shapes, usually a circle for the head, an oval for the body, and a curved line for the spine. That curve matters more than people think because it sets the mood before any detail shows up. A stiff straight line gives you a calm cat, but a deep arch instantly creates that classic Halloween tension.
One thing I learned after sketching about 30 cats in a single afternoon is that symmetry kills character. I tilt my head slightly or make one shoulder higher than the other. It looks messy at first, but that imbalance is what makes the final drawing feel alive. Clean lines come later.
I keep my pencil pressure light at this stage. Very light. If I press too hard, I end up fighting my own lines when I try to adjust the pose. A soft sketch gives me room to experiment without ruining the page.
Building the Expression That Sells the Mood
The eyes carry everything in a Halloween cat drawing. I usually draw them larger than normal, with sharp almond shapes and a slight inward tilt to make them feel watchful. A small tweak of just a few millimeters can shift the mood from playful to eerie. That subtle change is something I picked up after a customer last fall asked me to redraw the same cat three times just to get the “right look.”
I once recommended a beginner-friendly breakdown on how to draw a Halloween black cat to someone at my booth, and they came back the next week with a sketch that finally had personality instead of looking like a flat cartoon. Resources help, but you still have to train your eye to see what feels off. No shortcut replaces that.
I don’t rush the eyes. Ever. Even if the rest of the sketch takes ten minutes, I might spend half that time just adjusting the pupils and spacing. It sounds excessive, but the eyes decide whether someone stops and looks twice.
Using the Body and Tail for Drama
The tail is where I have fun. A straight tail feels calm, almost boring, but a high, curved tail with a sharp hook at the end adds tension instantly. I usually exaggerate it more than reality because Halloween art benefits from pushing shapes further than normal.
I remember drawing a batch of 12 quick cat sketches for a market table, and the ones with exaggerated tails sold first. People react to movement, even in a still drawing. That taught me to stop playing it safe with proportions.
The back arch also deserves attention. I draw it higher than a real cat would hold it in most situations, especially for spooky designs. It’s not realistic, but it communicates the idea faster, and that’s what matters in stylized art.
Adding Fur Without Overworking It
Fur is where many beginners go wrong. They try to draw every strand, and the result comes off as heavy and cluttered. I keep it simple with quick, uneven strokes that follow the body’s direction. Less detail often looks better here.
I focus on edges rather than filling in everything. A few jagged lines along the back, cheeks, and tail can suggest fur without overwhelming the drawing. Negative space does a lot of work if you let it.
I also vary line thickness. Thin lines for inner details, thicker ones for the outer silhouette. That contrast makes the cat pop even before shading comes in.
Shading for That Classic Halloween Look
Black cats are tricky because if you shade everything dark, you lose the form. I leave small highlights along the edges of the face, back, and tail to separate the cat from the background. It’s a small trick, but it makes a huge difference.
I usually pick one light source and stick with it. A simple top-left light works well because it creates natural shadows under the chin and belly. Consistency matters more than realism here.
Sometimes I add a faint glow around the eyes or a soft shadow underneath the cat to ground it. Those small touches take maybe two minutes, but they elevate the whole piece. Quick wins matter.
Little Details That Make People Notice
Whiskers are not just lines sticking out. I give them a slight curve and vary their length so they don’t look mechanical. A small asymmetry again makes a difference.
I also like adding tiny elements like a crooked grin or slightly raised fur along the spine. These are subtle, but they add personality without turning the cat into a cartoon. Balance is key.
One trick I use often is leaving one ear slightly bent or nicked. It suggests history, like the cat has been through something, and people connect with that more than a perfect shape.
I still sketch a few cats every October, even after years of doing this, because each one teaches me something new about shape, mood, or restraint. The process never really gets old, and honestly, that’s why I keep coming back to it.